
With the runners glued in, I began to work on the drawer itself. I first selected a nice piece that will become the drawer face. Then I planed the edges it until it fit exactly into the drawer opening. Then I planed the sides so they would both glide smoothly on their respective sides.

Then I cut a back piece to exactly the same width of the drawer front, but it is about 1/2" narrower. This allows the drawer bottom to slide into position.

Then I set the distance for my plow plane' fence (with 1/4" blade) to exactly the same width as the back piece.

Then I always reference the fence against the top side of the drawer parts.

This makes them line up perfectly.

The dovetails are the cut, thorough ones in the back and half-blind ones in the front. Make sure to space the tails so they cover up the groove in the front. After the drawer is done gluing, I plane the outsides until I have a smooth fit. The drawer bottom is made from 3/8" thick poplar. It has a 1/4" rabbet in it that allows it to slide into the drawer. When rabbeting thin sock like this, put some sort of batten across the top of it to keep it flat.

For the knob I had to turn my own using my bungee lathe I posted about a while ago. Luckily all I had to do was rough it out as the tenon on the end allows me to chuck it into the drill press for easy sanding.

The knob hole was drilled on my drill press so I could use my 1/2" forstner bit.

The knob is glued and wedged in by a small rosewood wedge.

The drawer is finished with shellac, except for the drawer front which was varnished.

 With that done, I moved on to the finish. For the first two coats I used a mixture of 1 part oil+varnish, 1 part varnish, and 1 part mineral spirits. This creates a wiping varnish with a little bit of oil. For the base I added one coat of pure wiping varnish. For the top I added 3 more. I think that overall the project came out pretty well, there are some imperfections, but they are pretty minor.

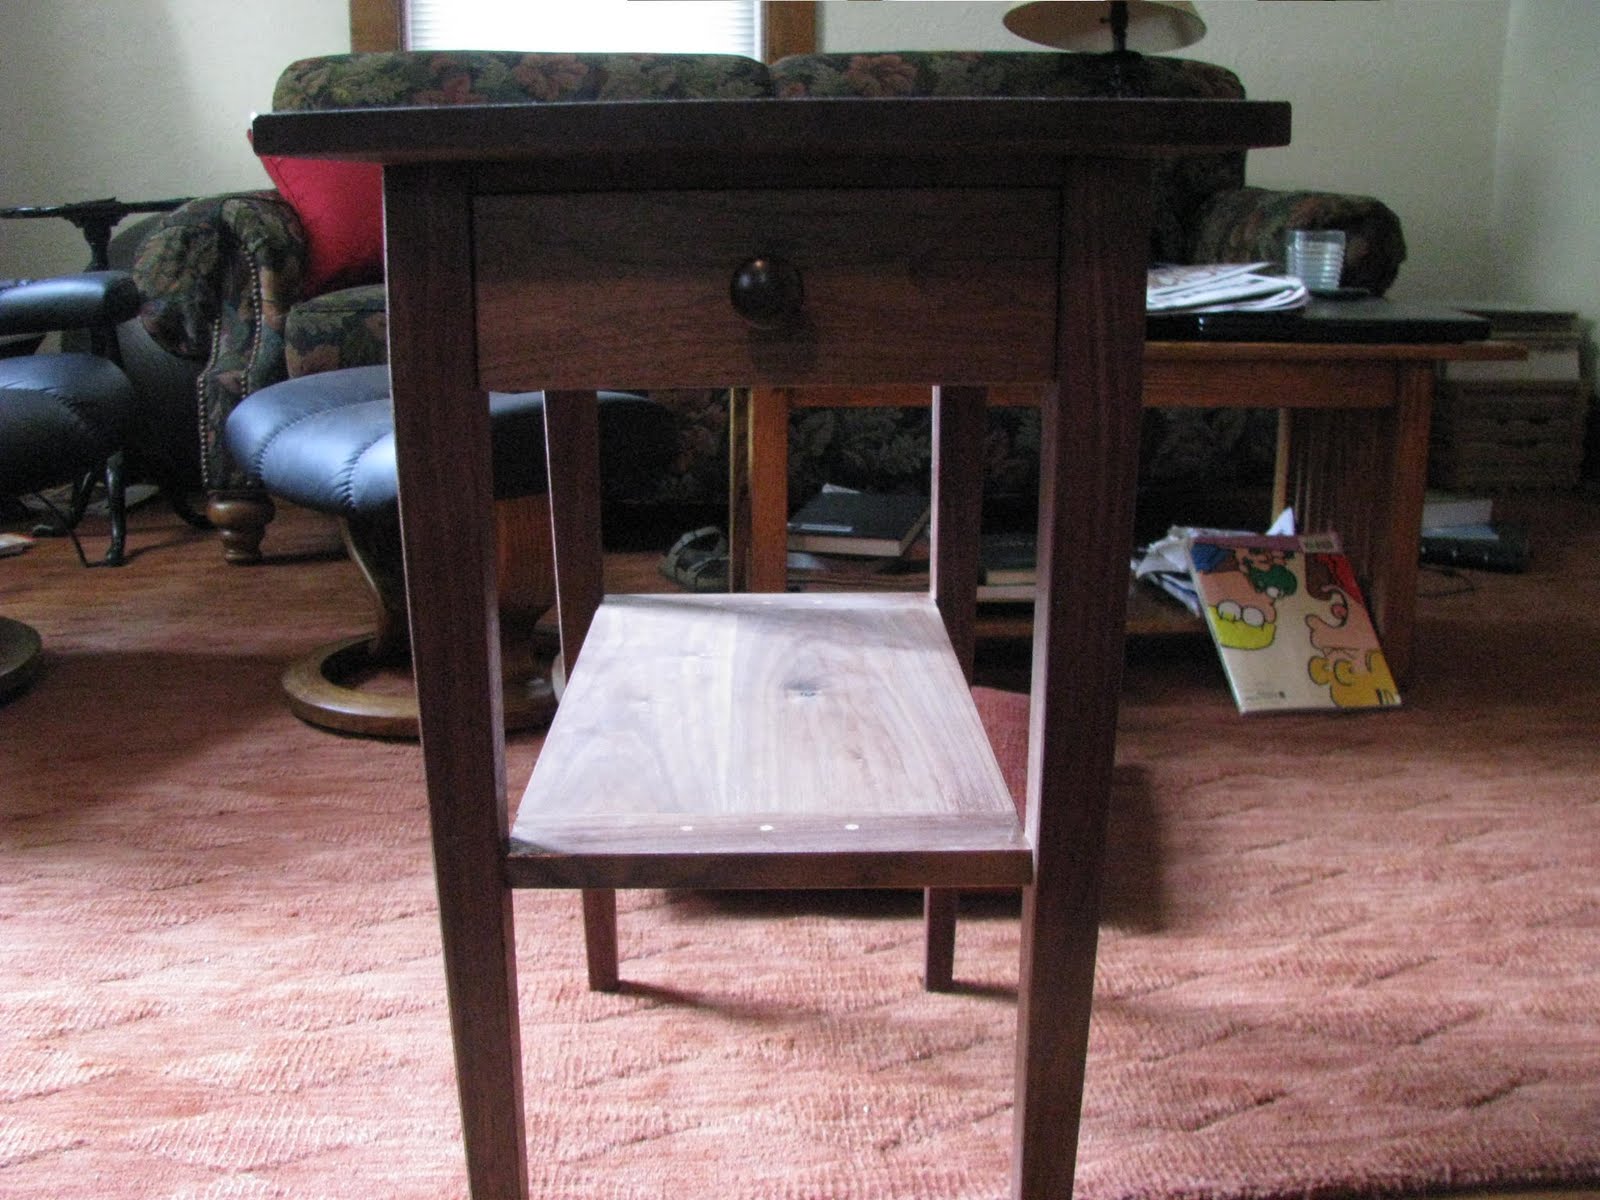

 Here is the table next to its "sister" table.


