


I decided that I should take some nice photos of my side table. They turned out okay, not bad for the first time with a bedsheet in the doorway.

 With that done, I moved on to the finish. For the first two coats I used a mixture of 1 part oil+varnish, 1 part varnish, and 1 part mineral spirits. This creates a wiping varnish with a little bit of oil. For the base I added one coat of pure wiping varnish. For the top I added 3 more. I think that overall the project came out pretty well, there are some imperfections, but they are pretty minor.


 Here is the table next to its "sister" table.

 Then I flatten and smooth one side, and just flatten the other side. This side will be the bottom. In order to lighten the look of the top, I put some bevels in.
  They are marked out with pencil, and then just planed to the line. Start with the two sides that are cross grain first.
 With the runners glued in, I began to work on the drawer itself. I first selected a nice piece that will become the drawer face. Then I planed the edges it until it fit exactly into the drawer opening. Then I planed the sides so they would both glide smoothly on their respective sides.
 Then I cut a back piece to exactly the same width of the drawer front, but it is about 1/2" narrower. This allows the drawer bottom to slide into position.
 Then I set the distance for my plow plane' fence (with 1/4" blade) to exactly the same width as the back piece.
  Then I always reference the fence against the top side of the drawer parts.
  This makes them line up perfectly.
 The dovetails are the cut, thorough ones in the back and half-blind ones in the front. Make sure to space the tails so they cover up the groove in the front. After the drawer is done gluing, I plane the outsides until I have a smooth fit. The drawer bottom is made from 3/8" thick poplar. It has a 1/4" rabbet in it that allows it to slide into the drawer. When rabbeting thin sock like this, put some sort of batten across the top of it to keep it flat.
  For the knob I had to turn my own using my bungee lathe I posted about a while ago. Luckily all I had to do was rough it out as the tenon on the end allows me to chuck it into the drill press for easy sanding.
 The knob hole was drilled on my drill press so I could use my 1/2" forstner bit.
 The knob is glued and wedged in by a small rosewood wedge.
  The drawer is finished with shellac, except for the drawer front which was varnished.
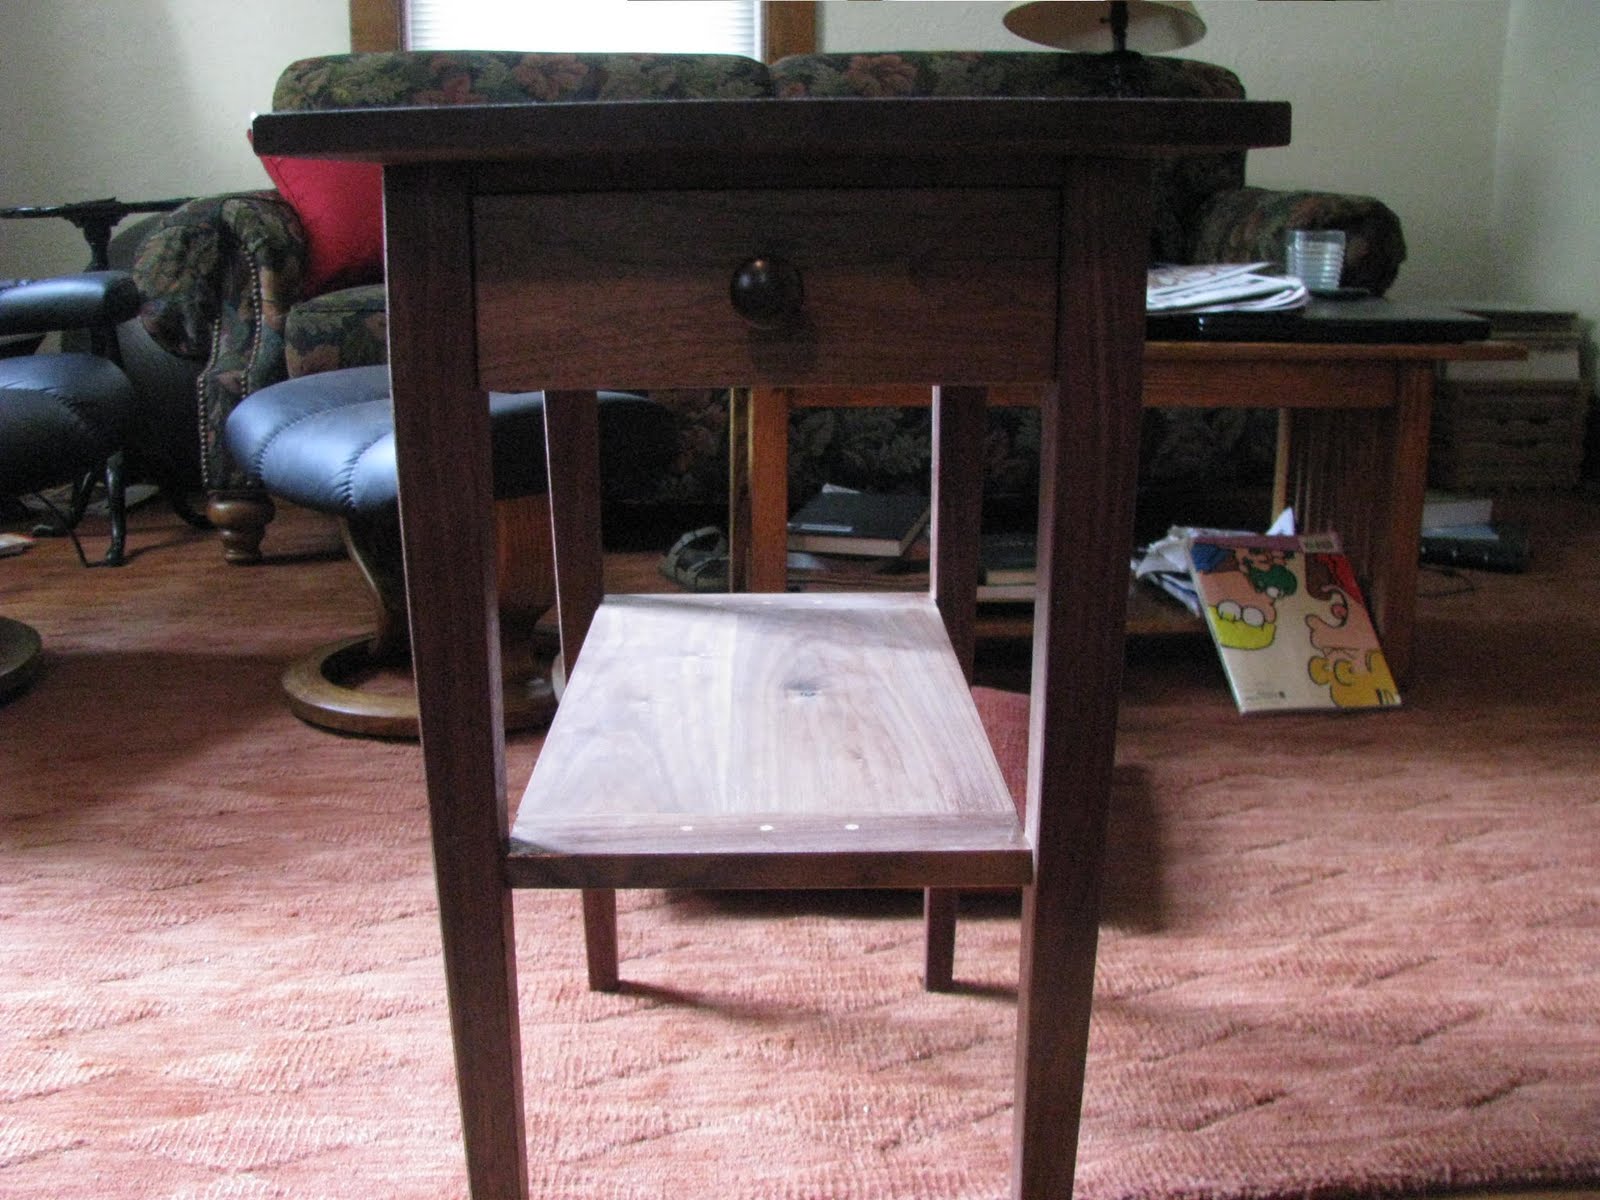
 The breadboards were made using the same technique that I used for the stretchers. The ends have a groove, and a matching mortise for the breadboard tenons. The ends are also slightly longer than the shelf so they can be mortised into the legs. Here is a shot of the mortise being drilled in a leg. It was later squared up. Before assembly I made some small mortises in the inside of the stretchers.


 I did this in two stages, first I glued the long stretchers in, then after they dried, I glued in the back-stretcher, the front drawer runner, the other thing that goes above the drawer (that's the technical term for it), and the breadboard shelf to the legs.
 I do this to both boards. To do the glue-up, I have the flat faces facing down on another flat surface (in this example, my saw bench) and put some clamps across the joint. The small clamps and holdfast help keep the flat faces from moving and potentially bowing of cupping.
 After the glue is done drying, I flatten the face that I flattened before, to make one flat face on the panel. Then I scribe a line of desired thickness, referencing off my flat face, and plane to the line.
 Finish up with a smoothing plane.

 This way, I have two stretchers with the critical dimensions identical. I do this for most of my components, usually measuring once with dimensions from my plan, and then transferring these marks to other components. When you are doing this you must keep track of your reference faces, and only reference off them. This will ensure consistency. A reference face is a part of a board (ex. the face, the edge, the end) that you know is exactly flat and square to the other reference faces on the board.

 The line for the shoulder is transferred all around the stretcher (remember to only use the reference faces to reference your square).
  Then I make the shoulder cuts and chop out the bulk of the waste with a chisel.

 This is one exception when you can work off a face that isn't a reference face. To cut the back of the tenon (on a non-reference face), you can reference the router plane's sole against the face, because the tenon will be trimmed again later.
  The mortises in the legs are drilled out and cleaned up with a chisel.
 I have mapped out where all the components will come out of the boards, and have broken down and stickered the boards. For this project I tried a new lumber supplier that is much closer to my house. I have never seen so much lumber in one place before. It was so much fun, they had outbuildings full of all sorts of stuff. The only thing I didn't really like was that the boards were kind of hard to sift through to find one I really liked. I bought two 1" thick walnut boards, and one 8/4 walnut board, and one board of poplar.
 The widest board I will use for the top and shelf, and the thick walnut will be for the legs. The leg board is really nice, it's almost perfectly riftsawn, and even has a subtle curl to it. Unfortunately I had to cut it by hand, which took a while.
  I started by gluing the panel for the drawer together. It is a spring joint, and I simplified the glue-up by doing it on my wagon vise. This keeps everything flat.

